I made this coffee cup sleeve for my dear friend's birthday a few months ago -- she deserves much more than this, but this will have to do until I make her that heirloom queen-size quilt.
I started by picking out a couple of fabrics, in this case, some cotton sateen prints from Amy Butler's Soul Blossoms collection. Love them.
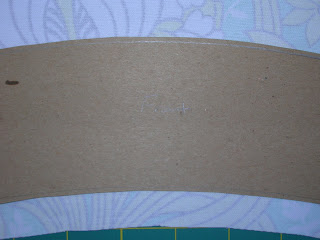
I used a Starbucks cardboard coffee sleeve as my template and traced it onto a thin piece of cardboard. If I planned to make a lot of these I'd have used template plastic, but cardboard is great for my purposes.
I cut my template with an extra 1/8" all around -- I just eyeballed it. No need to get out a ruler for this. Although the sleeve is reversible, you may want to mark the template with "front" and "back" if it matters which fabric will be on display more often.
I traced around the template and cut my sleeve front and back from the two fabrics with a scant 1/4" seam allowance all around, making sure to flip the template to get the reverse shape for the back since the sleeve isn't completely symmetrical.
Here are the front and back after being cut out.
Next I cut out my lining. This version was actually my second attempt, so I applied what I'd learned from my first version. In the first version, I tried using thin cotton batting along with a scrap of blackout curtain lining left over from an old project. It was just too thick with two layers between the cotton sateen, which is a heavier weight than quilter's cotton. So I figured the blackout curtain fabric would suffice. Besides, my friend likes to feel the warmth from the cup through the sleeve -- if anything, I was afraid it was going to be too insulated for her. As you can see, I used the actual Starbucks sleeve as the template for this step and cut just inside the line. I knew from my first attempt that I didn't want the lining caught in the seams.
I centered the lining on the wrong side of my backing fabric, pinned carefully, and then thread basted them together. Leave your knots on the right side of the backing fabric for easy removal later on.
I layered my front and back fabrics right sides together and used pins to line up the corners just right. When I was satisfied with the alignment, I pinned through all layers and stitched along my marked line. I left open the end that was going to be the flap that gets tucked under when the sleeve is wrapped around a cup.
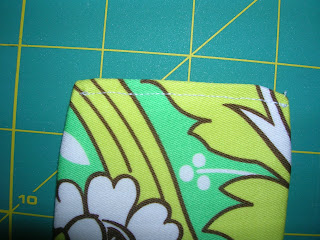
I removed the pins but left in the thread basting, and carefully turned the sleeve right side out through the opening. I pressed the sleeve to make sure the lining was lying nice and flat and not getting bunched up in the seam allowance. Then I folded in the seam allowances on the open end, pinned, and topstitched to close it up. I think I tried to catch the lining in the stitching if possible, but didn't worry too much about it being "free floating." I knew it was nice and snug inside the sleeve. Now it was safe to remove the thread basting.
For some reason, the only velcro I had on hand was something I'd bought for a paper craft, so it had adhesive on it and is not intended for use with fabric. But because I'm lazy and I knew that this was not something that would probably see much washing machine action, I used it anyway. I attached one half of the velcro to the front fabric on the end that would get tucked under, and the other half on the back fabric of the opposite end. Because of the sticky adhesive, I hand stitched an X through each piece of velcro using a big embroidery needle that I could throw away. Actually, I think I used two needles because they got so gunked up. I don't recommend attaching your velcro this way, but you work with whatcha got.
Ta-dah!


No comments:
Post a Comment